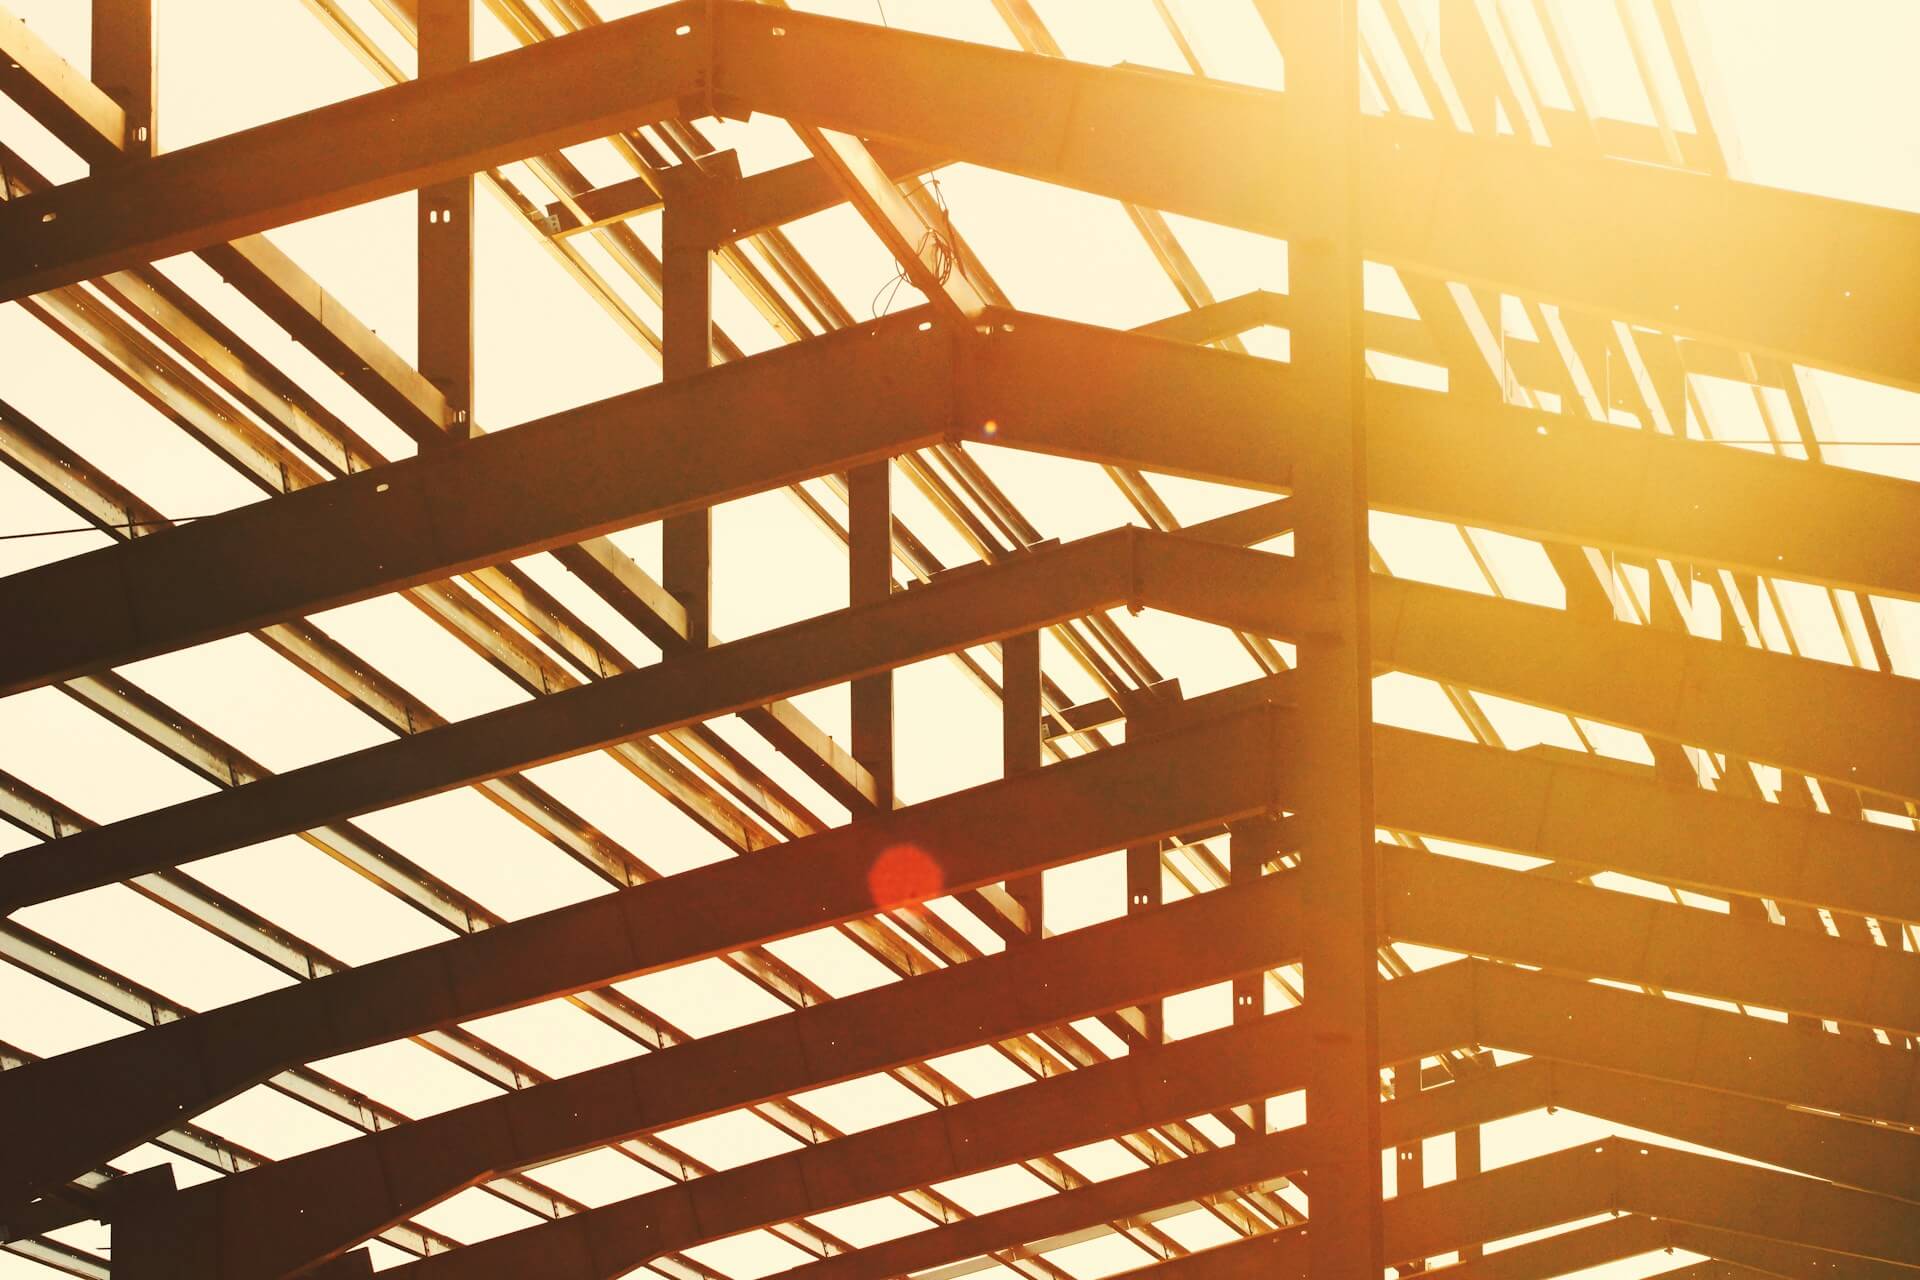
Fix Your Roof in 6 Easy Steps by Following These Tips
Maintaining the integrity of your roof is essential for protecting your home from the elements. Neglecting roof repairs can lead to significant damage, resulting in costly repairs and potential hazards. Regular maintenance and timely fixes can extend the life of your roof, improve energy efficiency, and enhance your home's overall value. This guide outlines six easy steps to fix your roof, ensuring you tackle issues promptly and effectively.
When to Hire a Professional Roofer
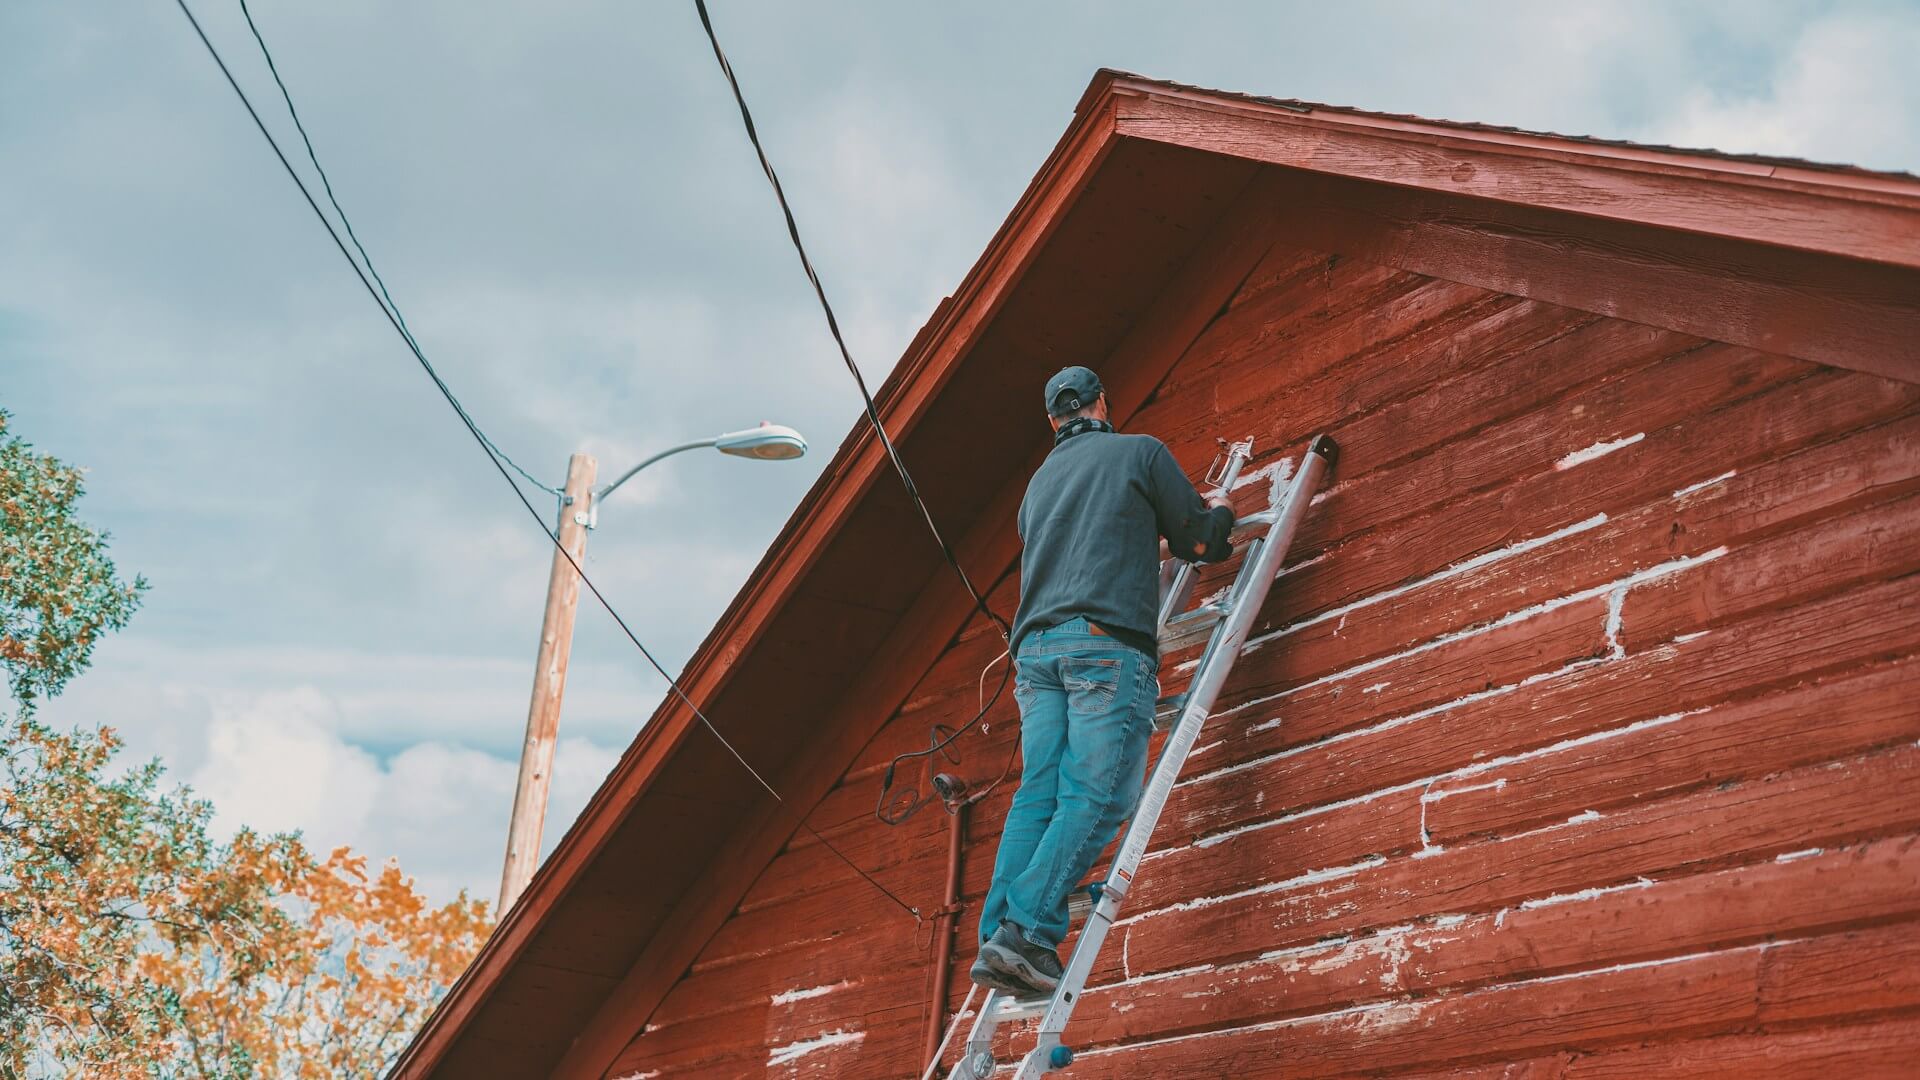
While DIY roof repairs can be effective for minor issues, hiring a professional roofer is crucial for more extensive or complex problems. Professionals bring expertise, specialized tools, and safety knowledge that are essential for addressing significant damage, structural concerns, or working on steep or high roofs. Their experience ensures that repairs are done correctly and efficiently, preventing potential future issues. Additionally, professional roofing services offer warranties on their work, providing peace of mind and protection against defects. Attempting to handle intricate repairs without the necessary skills can lead to further damage and increased costs.
By choosing a qualified roofing contractor, you ensure that repairs are performed to industry standards, safeguarding your home's integrity and your investment. For major repairs or if you're unsure about the scope of the problem, seeking professional assistance is a wise and effective choice.
Gather the Right Tools and Materials
Having the right tools and materials on hand is crucial for a successful roof repair. Essential tools include a hammer, roofing nails, a utility knife, a pry bar, a caulking gun, and a sturdy ladder. Depending on the damage, you might need additional materials such as replacement shingles, roofing cement, sealant, and metal flashing. It's important to select materials that match your existing roof to maintain a uniform appearance and ensure a seamless repair. Gathering all necessary items before starting the work not only saves time but also helps avoid interruptions during the repair process. Proper preparation ensures that the repair is executed efficiently and effectively, minimizing the risk of future issues and contributing to the overall longevity of your roof.
Remove Damaged Shingles
Carefully remove the damaged shingles to make way for new ones. Start by lifting the edges of surrounding shingles and removing the nails with a pry bar or hammer. Once the nails are removed, gently lift the shingle and slide it out. Be cautious not to damage the surrounding shingles. If the underlayment is damaged, replace it as well to provide a solid foundation for the new shingles. Removing damaged shingles properly ensures a secure and long-lasting repair.
Install New Shingles
Installing new shingles requires both precision and attention to detail to ensure a durable and watertight repair. Start by carefully placing the new shingle into position, and aligning it with the surrounding shingles for a seamless look. Secure it with roofing nails, making sure to place the nails just below the adhesive strip and covered by the overlapping shingle above. This prevents the nails from being exposed to the elements. When installing multiple shingles, work from the bottom up, overlapping each row as you go to create a watertight seal. This method not only enhances the roof's durability but also helps to prevent leaks and ensures that the new shingles integrate smoothly with the existing roof structure. Proper installation is key to maintaining the effectiveness and longevity of your roof.
Seal and Secure Flashing
Flashing is essential for preventing water penetration around chimneys, vents, and roof valleys. Inspect the existing flashing for damage or wear and replace it if necessary. Apply roofing cement or sealant around the edges of the flashing to secure it in place. Ensure the flashing is properly aligned and extends under the surrounding shingles for maximum protection. Sealing and securing the flashing effectively prevents leaks and water damage.
Conduct a Final Inspection
After completing your roof repairs, it's crucial to conduct a thorough final inspection to ensure everything is properly in place and secure. Carefully examine the entire roof for any missed spots, loose shingles, or gaps in the flashing that might have been overlooked. Special attention should be given to areas around chimneys, vents, and roof valleys, as these are common trouble spots prone to leaks. Check that all shingles are correctly aligned and fastened and that the flashing is securely sealed. If you identify any issues during this inspection, address them immediately to prevent future problems and ensure the roof's long-term performance. A detailed final inspection helps confirm that your repairs are effective and that your roof is well-maintained and leak-free.
Fixing your roof doesn't have to be a daunting task. By following these six easy steps, you can address common roofing issues effectively and maintain the integrity of your home. Regular inspections and timely repairs are crucial for extending the life of your roof and protecting your property from the elements. Remember, if the damage is extensive or you're unsure about the repair process, it's always best to consult a professional roofer. Proper roof maintenance ensures a safe and comfortable living environment for years to come.