Round Freestanding Bathtubs: Design Considerations for Placement, Plumbing, and Proportion
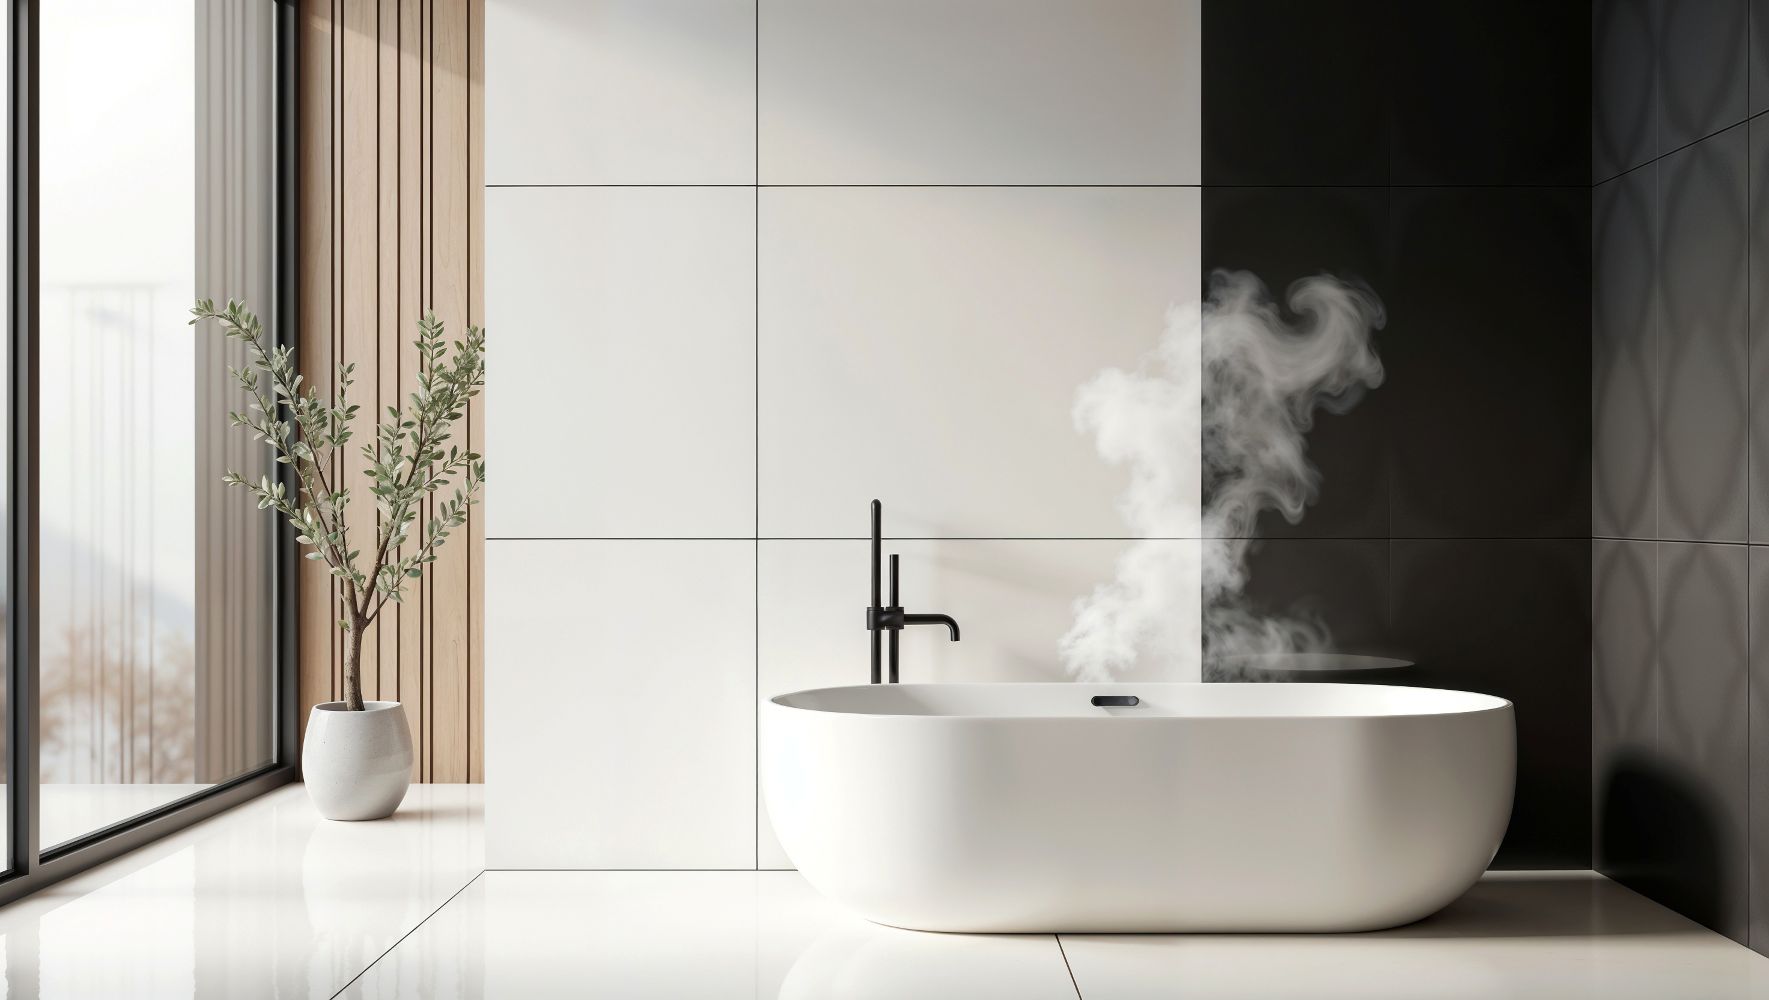
Round freestanding tubs shift a bathroom's center of gravity, both visually and physically. Their curved profile softens hard corners, yet the shape asks for tighter planning than a standard rectangular bath. Placement affects circulation, floor loading, splash spread, and drain alignment.
A strong layout begins with measured drawings, realistic use patterns, and sightline checks from the doorway. That early discipline helps the room feel calm, safe, and well scaled once every fixture is in place.
Footprint First
A circular tub changes movement before any finish is chosen. Clear passage on all sides usually matters more than extra floor area in one direction. In many plans, the round freestanding bathtub sits best where sightlines stay open, towels remain close, and nearby fixtures do not crowd the rim. That balance lets the form read as intentional while still supporting comfortable entry, drying, cleaning, and daily circulation.
Center Lines
Curved rims make small alignment errors simple to spot. A centered axis from the door, window, or focal wall often gives the tub a settled position. Some rooms lack perfect symmetry, and that is acceptable. In those cases, offset placement can still feel right if mirrors, lighting, or millwork repeat the same visual shift.
Plumbing Route
Supply and waste lines should be resolved before finish flooring is ordered. Floor-mounted fillers need accurate rough-in points, shutoff access, and secure anchoring below the surface. Slab construction limits pipe movement more than framed floors do. Early coordination between the plumber, tile installer, and tub supplier reduces field changes and protects the waterproof assembly.
Drain Access
Drain location deserves separate review because round shells leave little room for improvisation. Some tubs use a centered outlet, while others shift the waste opening off the axis. That detail affects framing, trap placement, and access for future service. Small adjustments on paper can prevent disruptive cutting after tile, stone, or wood flooring is complete.
Filler Placement
The filler should support effortless use without blocking entry. Many layouts place the spout near the drain side, which keeps hose reach short and controls visual clutter. Floor-mounted fittings need rigid support beneath the finished layer. If the tub accepts deck mounting, the shell must allow safe drilling and later access for repair work.
Floor Loading
Weight calculations should include the shell, full water volume, and the person using it. Cast iron, stone resin, and solid surface models can exceed rough estimates quickly. Upper-floor installations may need framing review before delivery. That step lowers the risk of deflection, finish cracking, or strain at pipe connections below the room.
Moisture Control
A freestanding round tub often throws water farther than expected because it sits away from walls. Flooring near the perimeter should resist slipping and tolerate frequent wetting. Humidity control also matters during long soaks. Strong exhaust flow helps evaporate surface moisture faster, which reduces residue buildup and protects paint, grout, and wood trim.
Edge Clearances
Space around the rim affects bathing comfort, maintenance access, and safe exit. Many plans benefit from about 30 inches on the primary approach side, though exact needs vary by room. Tighter margins can work beside low-traffic walls if reach remains practical. A nearby towel hook or stool also limits dripping across the walking path.
Proportion and Scale
Diameter should relate to room width, ceiling height, and the bulk of nearby cabinetry. An oversized tub can make a modest bath feel compressed, even when code clearances are met. Smaller models often read better with generous open floor around them. Visual balance improves when the basin occupies one defined zone without competing for attention.
Material and Finish
Surface color changes how heavy a round tub appears. Matte white usually reflects light softly and keeps the form visually lighter. Dark finishes create more presence and can make the shell seem larger than it is. Faucet metal should connect with other hardware, though perfect matching is not required for a cohesive result.
Lighting
Lighting shapes the way a curved tub is perceived across the day. Natural light reveals contour and depth, while harsh ceiling spots can flatten the profile. Pendants may work above certain tubs if damp-rating and clearance rules are met. Soft side illumination often gives the basin more dimension and makes bathing feel quieter.
Conclusion
A successful round tub installation depends on proportion, circulation, structure, and careful plumbing coordination. Each decision, from drain placement to filler location, affects comfort and long-term maintenance. Moisture control and floor strength deserve the same attention as visual impact. When those elements are studied early, the tub can anchor the room without disrupting daily use. Good planning lets the curved form feel measured, practical, and visually settled for years after installation.