Breathing Easy in Your Rental:
Tips for Maintaining Clean AC Coils in an Apartment
You might not realize it, but dirty AC coils can reduce your air conditioner's efficiency by a large margin and even affect your health. Keeping these coils clean in your apartment isn't just about comfort; it's about maintaining good air quality and lowering energy costs. You'll need to use specific tools and follow essential safety steps to make sure your unit operates smoothly. Wondering how to get started and what routine tasks you should be performing to keep your AC in top shape? Let's break it down step-by-step so you can breathe easier in your rental.
Understanding AC Coils
Understanding AC coils is vital for maintaining the efficiency and longevity of your apartment's air conditioning system. AC coils come in two primary types: evaporator coils and condenser coils.
The evaporator coils are located inside the indoor unit and are responsible for absorbing heat from your apartment's air. This process cools the air before it's circulated back into your living space.
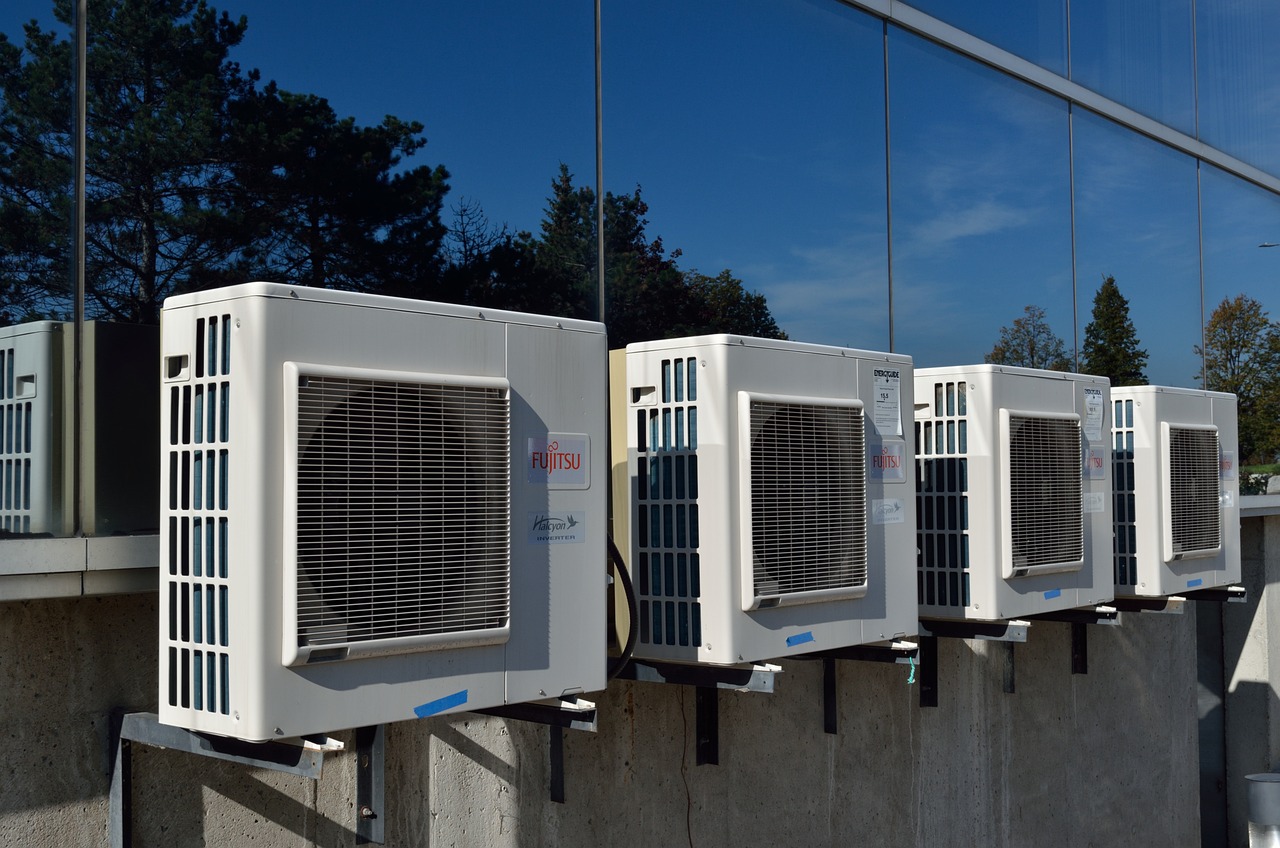
On the other hand, the condenser coils are found in the outdoor unit, where they release the absorbed heat into the outside environment. The evaporator coils work by allowing the refrigerant to evaporate inside them, which creates a cooling effect.
This cooled refrigerant then travels to the condenser coils, where it condenses and releases heat. This cycle repeats continuously to keep your apartment cool.
It's important to make sure that both coils are free of dirt, dust, and other contaminants. Dirty coils can hinder heat exchange, causing your AC to work harder and consume more energy. Regularly inspecting and understanding the condition of your AC coils helps you take proactive steps in maintaining peak performance and avoiding costly repairs.
Proper knowledge of these components ensures your air conditioning system operates at its best efficiency.
Importance of Clean Coils
AC coil cleaning is crucial for optimizing the efficiency and effectiveness of your air conditioning system. When your AC coils are clean, they support ideal heat exchange.
Dirty coils, on the other hand, obstruct this process, causing your system to work harder to cool your apartment. This increased workload not only raises your electricity bills but also accelerates wear and tear on the system, potentially leading to costly repairs or premature replacement.
Clean coils also enhance indoor air quality. Dust, mold, and other contaminants can accumulate on dirty coils, which can then be circulated throughout your living space. This can worsen allergies, asthma, and other respiratory issues.
By maintaining clean coils, you're ensuring that the air you and your family breathe is free from these harmful pollutants.
Furthermore, clean coils help maintain consistent indoor temperatures. Dirty coils can cause hot spots and uneven cooling, making your apartment uncomfortable. Regularly cleaning your coils guarantees that the cooled air is distributed evenly, providing a more comfortable living environment.
Tools You'll Need
To effectively clean your AC coils, you'll need a set of specialized tools designed for precision and safety. These tools guarantee you can access and clean the coils without causing damage to the unit or injuring yourself.
Here are the essential items you'll require:
- Fin Comb: A fin comb helps straighten any bent fins on the coils, which improves airflow and efficiency. Choose one that matches the fin spacing of your AC unit.
- Coil Cleaner: Use a foaming coil cleaner specifically formulated for HVAC systems. This cleaner will break down dirt, grime, and biological growth without harming the coils.
- Soft Brush: A soft brush is critical for gently removing dust and debris from the coils. Avoid using hard-bristled brushes as they can damage the delicate fins.
- Vacuum Cleaner with Soft Brush Attachment: This tool is invaluable for removing loose dirt and dust from the coils before applying any cleaner. It allows for a thorough clean while minimizing the risk of fin damage.
These tools are essential for maintaining your AC unit's performance and longevity. By using the right equipment, you can tackle the job efficiently and make sure that your AC system runs smoothly, providing you with clean, cool air all year round.
Safety Precautions
Before you start cleaning your AC coils, why is it important to adhere to stringent safety precautions? The primary reason is to protect yourself from potential hazards such as electric shock, chemical exposure, and physical injury. Safeguarding your safety also helps prevent accidental damage to the AC unit, which could lead to costly repairs.
First, wear personal protective equipment (PPE) like gloves, safety goggles, and a mask. Gloves shield your hands from sharp edges and chemical cleaners, while safety goggles protect your eyes from debris and chemical splashes. A mask prevents inhalation of dust and chemical fumes.
Next, guarantee adequate ventilation in the work area. Open windows or use fans to disperse chemical fumes, which can be harmful if inhaled. Avoid working in confined spaces where ventilation is limited.
Use a sturdy ladder if you need to reach high or awkward areas. Ensure the ladder is on a flat, stable surface to prevent falls.
Powering Down the Unit
Make certain the AC unit is completely powered down by switching off the circuit breaker dedicated to the air conditioning system. This step is essential to guarantee your safety and prevent any electrical mishaps.
Here's a detailed process to follow:
- Locate the Circuit Breaker Panel: Usually found in a utility room, closet, or hallway. If you're unsure, consult your apartment's layout or ask your landlord.
- Identify the Correct Breaker: The breakers should be labeled. Look for one marked 'AC', 'Air Conditioner', or something similar. This will be the circuit dedicated to your AC unit.
- Switch Off the Circuit Breaker: Flip the breaker switch to the 'off' position. This action cuts off the power supply to the AC unit, ensuring it's safe to proceed with maintenance.
- Verify the Power is Off: Try turning on the AC using the thermostat to confirm it doesn't respond. If the unit doesn't start, you've successfully powered it down.
Accessing the Coils
After confirming that the AC unit is powered down, begin by removing the front panel or access door to expose the coils. Use a screwdriver to loosen any screws securing the panel. Once the screws are removed, gently pull the panel away, ensuring not to disconnect or damage any internal wiring. If the panel is stuck, apply slight pressure to release it without using excessive force.
Next, locate the evaporator coils, typically found behind the air filter. If your unit has a secondary access door, remove it in the same manner. Carefully note the positioning of any screws or brackets you remove, as you'll need to replace them later. For window units, the coils are usually positioned at the front, while central AC systems often have them in the air handler or furnace.
Ensure you have a flashlight handy to illuminate the area, as the coils can be situated in dimly lit spaces. A small mirror can also help you see around corners and tight spots. This process requires meticulous attention to detail to avoid damaging any components.
With the coils now exposed, you're ready to proceed to the next step in maintaining your AC unit.
Inspecting for Dirt
With the coils now exposed, take a close look to identify any accumulation of dirt, dust, or debris on their surfaces. Inspecting for dirt is vital in ensuring your AC unit runs efficiently and maintains good air quality. Use a flashlight to get a better view of the coils and look for the following signs:
- Dust Layers: Check for any visible layers of dust that may have settled on the coils. Even a thin layer can impact the unit's efficiency.
- Debris: Look for small particles such as leaves, hair, or pet fur that might've gotten trapped in the coils.
- Discoloration: Notice any areas where the coils appear darker or discolored compared to the rest of the unit. This can indicate the presence of dirt or mold.
- Oil and Grease: Identify any slick or oily residues that might suggest a different kind of buildup, possibly from mechanical parts or previous cleanings.
Cleaning Solutions
You'll often find that commercial coil cleaners provide an effective solution for removing accumulated dirt and grime from your AC coils. These specialized cleaners are designed to dissolve and lift debris, guaranteeing peak performance of the unit. When selecting a cleaner, opt for a non-acidic formula to prevent damage to the coils. Brands like Nu-Calgon and Frost King offer reliable products that are both user-friendly and efficient.
To use a commercial coil cleaner, first, turn off the AC unit to ensure safety. Next, follow the manufacturer's instructions for dilution and application. Typically, you'll spray the cleaner evenly over the coil surface, allowing it to penetrate for the specified duration, usually around 10-15 minutes. This dwell time is crucial for breaking down stubborn contaminants.
After the cleaner has had time to work, rinse the coils thoroughly with water to remove any residue. A garden hose with a gentle spray nozzle works well for this purpose. Be sure to avoid high pressure, as this can bend the delicate fins of the coils.
Once cleaned, let the coils dry completely before restarting the unit. This guarantees that your AC system remains efficient and extends its lifespan.
Brushing Off Debris
To effectively remove loose dirt and debris from your AC coils, use a soft-bristle brush designed specifically for this purpose. Begin by making certain the AC unit is powered off to avoid any electrical hazards.
With your brush in hand, carefully follow these steps:
- Access the Coils: Remove the front panel or cover of your AC unit to expose the coils. Consult your user manual if necessary for guidance on accessing these components.
- Brush Gently: Using the soft-bristle brush, delicately sweep away visible dirt and debris. Avoid pressing too hard, as the coils are delicate and can easily bend.
- Work Methodically: Start from the top and work your way down in small sections. This ensures that you don't miss any areas and that the debris falls away naturally.
- Inspect Your Progress: Periodically step back and assess your work. Look for any spots that might need a bit more attention, and make sure that no debris has accumulated in hard-to-reach areas.
Rinsing the Coils
After brushing off loose debris, rinsing the AC coils is essential to remove any remaining dust and grime effectively. Start by confirming the unit is completely powered off to avoid any electrical hazards.
Use a hose with a gentle spray setting or a spray bottle filled with water to rinse the coils. Direct the water at a low angle to prevent bending the delicate fins.
For a more thorough cleaning, consider using a commercial coil cleaner. Follow the product instructions meticulously, typically involving spraying the cleaner onto the coils and allowing it to sit for a specified time. Then, rinse the coils thoroughly with water to wash away the cleaner and any dislodged dirt.
It's important to use only moderate water pressure to avoid damaging the fins or other components. If you're using a hose, a nozzle with adjustable settings helps control the pressure. Ensure the water flows through the coils and drains out without pooling inside the unit.
After rinsing, visually inspect the coils to confirm all debris and cleaning solution has been removed. Properly rinsing the coils enhances airflow efficiency and prolongs the lifespan of your AC unit, guaranteeing it operates at peak performance.
Reassembling the Unit
Once the AC coils are thoroughly rinsed and inspected, carefully reassemble the unit, making sure each component is securely and correctly positioned. Begin by positioning the coils back into their original slots, ensuring they align with the mounting brackets.
Next, reconnect any electrical connectors you may have detached during disassembly.
Reinstall the Fan and Motor: Confirm the fan blades and motor are securely fastened. Check that the fan rotates freely without obstruction.
Reattach the Access Panel: Secure the access panel with screws, verifying it fits snugly to prevent any air leaks.
Reconnect the Power Supply: Plug in the unit or turn on the circuit breaker, depending on your setup. Double-check that all connections are secure.
Test the Unit: Turn on the AC to verify it's functioning correctly. Listen for unusual noises and make sure cool air is being dispensed efficiently.
Regular Maintenance Tips
Regularly examine the AC coils for dirt and debris buildup to maximize cooling performance and energy efficiency. Begin by turning off the power to the AC unit to guarantee safety. Remove the access panel to expose the coils. Use a flashlight to get a clear view and look for any signs of dust, dirt, or grime.
Once you've identified buildup, use a soft brush or a vacuum with a brush attachment to gently clean the surface of the coils. Be careful not to bend the delicate fins. For more stubborn dirt, consider using a no-rinse coil cleaner. Spray the cleaner evenly over the coils and let it sit as per the manufacturer's instructions. The cleaner will loosen the debris, which will then be flushed away during normal operation.
Check the coils monthly during peak usage seasons like summer.
Additionally, replace the air filter regularly, as a clogged filter can lead to dirty coils. Keep the area around the AC unit clean and free from obstructions to ensure proper airflow.
Following these maintenance tips won't only prolong the life of your AC unit but also guarantee efficient and effective cooling.
Conclusion
You've mastered the art of coil maintenance! By dedicating just a bit of time to cleaning those AC coils, you're not only boosting your cooling system's efficiency to near-superhuman levels but also transforming your apartment into an oasis of pure, breathable air.
Remember, a little effort goes a long way in preventing monstrous energy bills and catastrophic breakdowns. Keep those coils pristine, and you'll enjoy an unrivaled kingdom of comfort in your rental space!